If you love the idea of RVing off the grid, then you’ve probably already shopped for a new or used RV with solar panel hookups. We’re going to go through the basic RV solar panel DIY installation so you can enjoy camping trips without the necessity of having an electrical hookup.
The following should be used as a general guide only, and safety should be your priority. If you have any questions, please contact our service department.
Step 1: Safety First!
Read the safety instructions in your solar kit before beginning – then read them again.
- Do not touch any electrically active components, like terminals, when the solar panels are exposed to light.
- Don’t install your panels in the rain.
- During installation, cover the panels with a drop cloth to prevent exposure and charging while you’re installing them.
- Do not sit or step on your solar panels unless you feel like buying them twice.
Step 2: Familiarize Yourself with Your Solar Kit & Mount the Panels
Take a look at your solar kit. Do you have flexible or rigid panels? On your RV, know your roof size and type – whether it’s rubber, fiberglass, flat, curved, and so on – and where the battery bank is.
If you have flexible panels, they will be mounted with adhesive. Flexible panels may also be mounted with screws, while rigid panels are only affixed with screws. If you notice that your solar kit only comes with the hardware, and no adhesive, it’s because your roof material will determine which kind of adhesive to use.
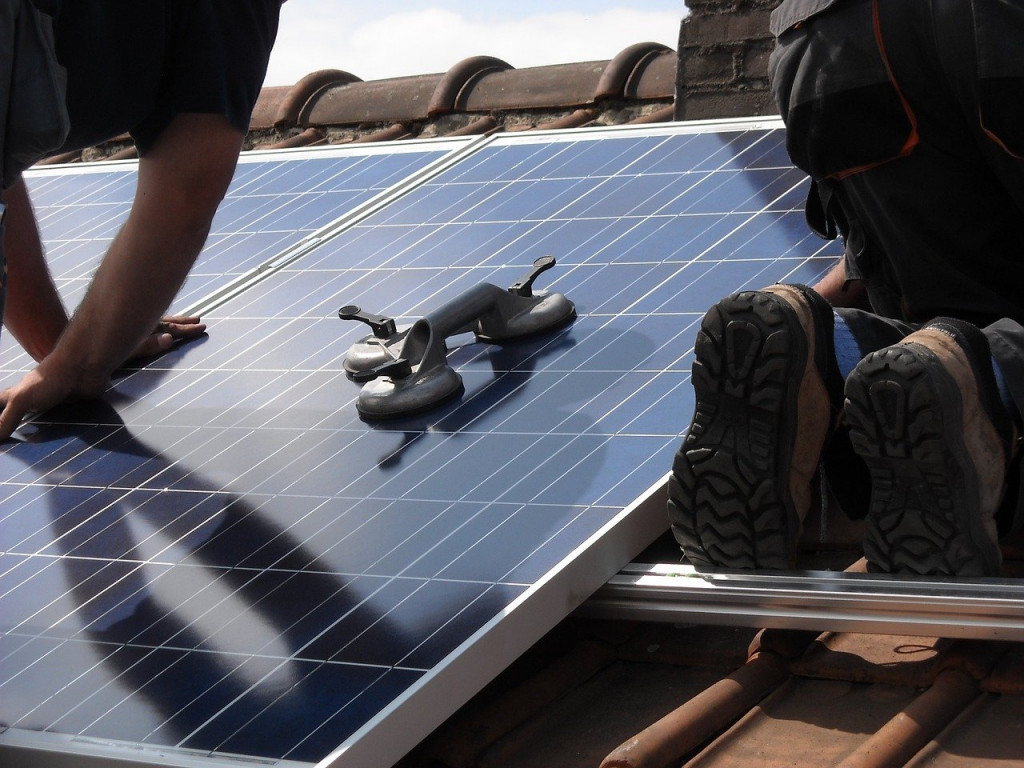
Lay out the panels, making sure everything fits, then mark those locations on the roof. Stay away from locations where a shadow might be cast over the solar panels, like from vents, air conditioners, etc.
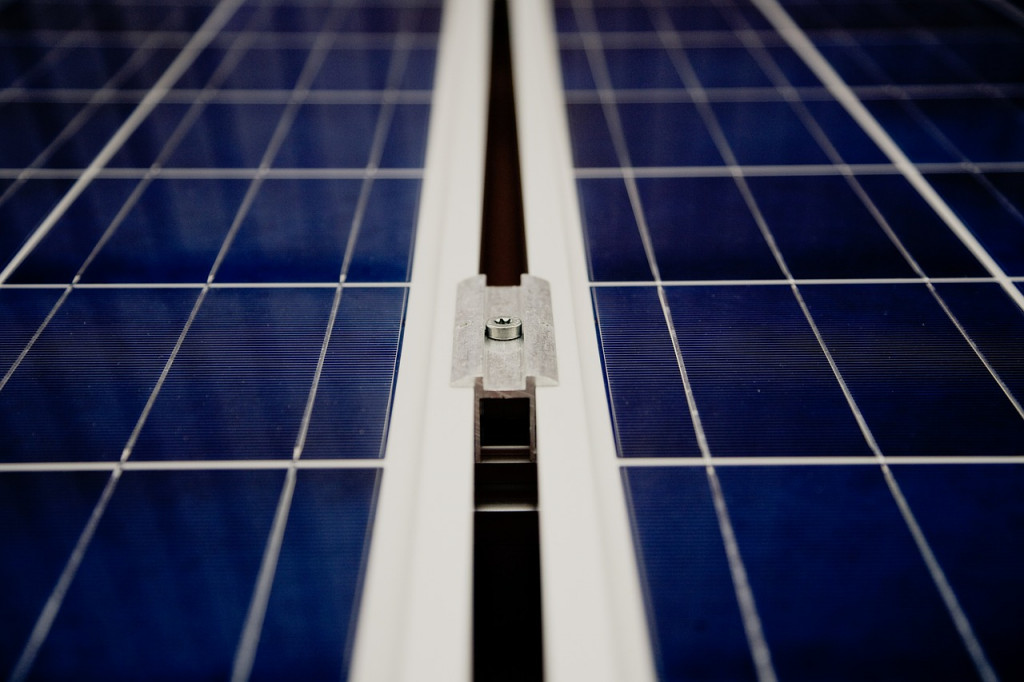
Install the hardware to the solar panel frame, if using, and make sure to attach to the frame as you don’t want to ruin it by sending a screw through the panel itself. Next, attach the panel to the roof.
Step 3: Run the Wiring
Next, you’ll need to run the solar panel power cable down to the charge controller. must be run from the solar panels down into the RV to the charge controller. The refrigerator vent is a pretty common method to use, or the plumbing pipe if your refrigerator vent is in a slide out. Try to avoid drilling an extra hole in your RV if you can, but if you end up needing to, just use a weatherproof entry port or sealant to protect against leaks.
Step 4: Connecting Your Charge Controller
To minimize line loss, mount your charge controller as close as you can to your batteries. Bring in the wires from the panels you sent through the refrigerator vent, and use a multimeter to test your wire polarity. A good rule of thumb is to use electrical tape to mark your wires.
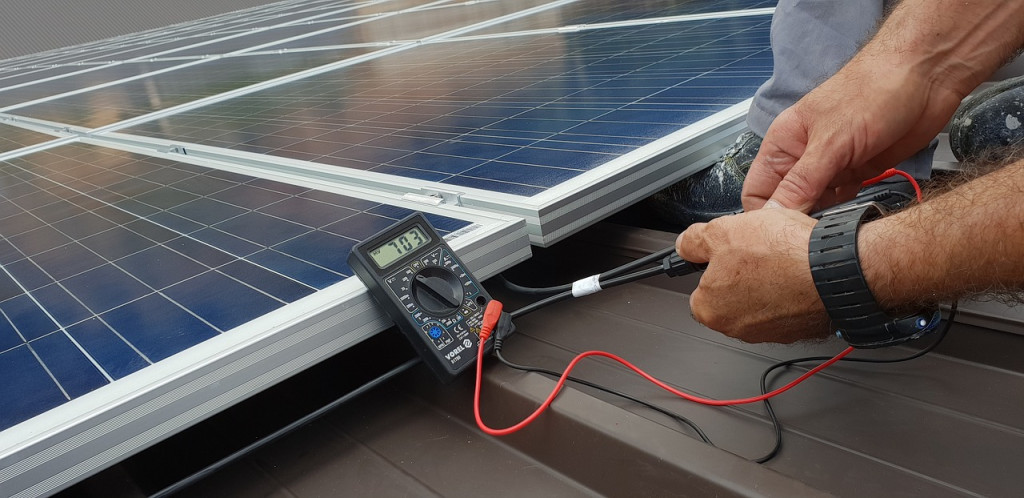
It’s essential that you not get electrocuted at this point, as that would probably ruin your camping trip. Connect to the solar panels and batteries as directed by the solar kit instructions.
Step 5: Installing the Inverter
This one is optional. But if you’re wanting to use AC appliances, you’ll have to use an inverter to convert the DC power from your solar panels into AC. Install your inverter near the batteries, but away from heat and other damaging elements. Connect negative and positive wires to the inverter, followed by connecting to your RV’s electrical system. Always connect the negative side first when connecting the inverter to the house battery posts.
You’re Done!
That’s it! RV solar panel DIY installation isn’t impossible to do on your own, but it can be complicated enough that you may prefer professional installation. We are here to help! Contact us today to bring your new or used RV into our RV service department for RV solar panel installation and start planning your off grid camping trips!
